
 EN
EN
 FR
FR DE
DE JA
JA KO
KO RU
RU ES
ES AR
AR IT
IT
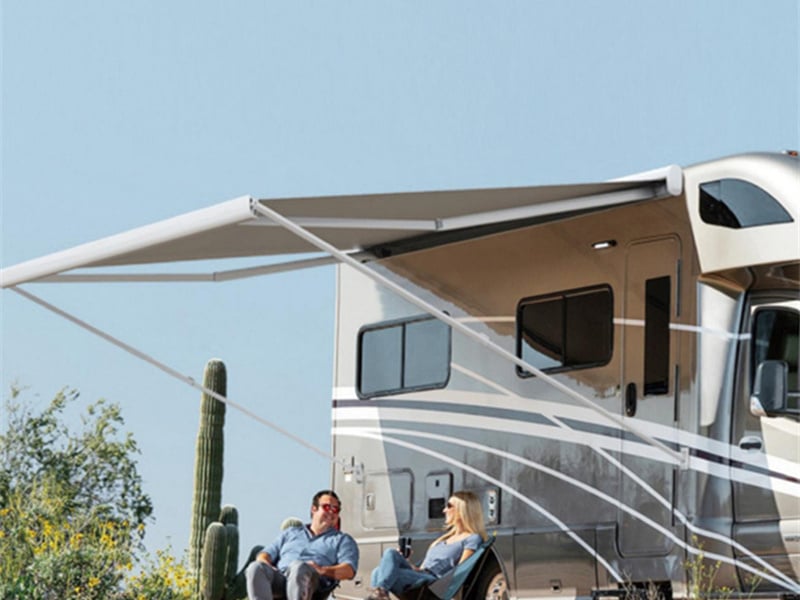
Nothing beats the sheer comfort of stopping at a campsite and rolling out a nice patch of shade right beside your motorhome. Whether you're escaping the scorching sunlight or enjoying a gentle afternoon rain, an awning is truly the "soul space" of RV life. However, with so many brands on the market, many owners often worry about the installation hassle or compromising their vehicle's weatherproof seal.
A properly installed awning should meet the following core requirements:
- Perfect Fit: Covers the designated shade area completely.
- Structural Stability: Withstands wind shifts in typical camping environments.
- Smooth Operation: Rolls out and retracts without misalignment or jamming.
- Long-Term Waterproofing: Prevents rain from leaking into the vehicle chassis through screw holes.
- Safe System Operation: Runs safely, whether using electric or manual systems.
- Easy Maintenance: Allows hassle-free fabric replacement or future component servicing.
The mainstream RV awning brands currently available on the market, such as Dometic, Thule, Fiamma, Awnlux, etc., all emphasize the importance of correct installation.
While each brand features its own distinct design aesthetics, their core installation logic and mechanical structures remain highly similar. If you have studied the manuals of European brands, you will find that the Awnlux installation process is equally intuitive and scientifically designed. Once you master the standard steps, this becomes a perfectly achievable advanced DIY project.
This article will take the Awnlux as an example to introduce the tools needed by DIY users for installing RV awning, the standard installation process, waterproofing methods, and solutions to common problems.
1. What needs to be prepared before installation?
Before rolling up your sleeves, ensure your toolbox contains the following essential items. These tools are universally applicable across the vast majority of awning brands on the market:
Positioning tools:
- Tape measure, level (essential), and a marker pen.
Drilling and fixation:
- Electric drill (with metal/glass fiber drill bit), adjustable torque electric screwdriver, wrench set.
Sealing materials (waterproof core):
- Butyl waterproof tape (pre-sealed base layer), high-quality UV weather-resistant sealant (such as Sika 521UV or equivalent RV-specific glue).
Safety aids:
- Two sturdy ladders, and at least one helper who can assist in lifting the main body.
2. Comfirming the Right Awning Size
- Measure Effective Length: Identify a completely flat area on the side of the vehicle body that is free of obstructions.
- Projection Distance: Smaller vehicles typically choose 2.5 m, while larger vehicles often require 3 m.
- Rule of Thumb (By Vehicle Type):
Class B Campers (Small): 2.5 m – 3.5 m recommended.
Class C Motorhomes (Medium to Large): 4.0 m – 5.5 m recommended.
3. Confirming Installation Way: Roof Mount vs. Wall Mount
|
Installation way |
Wall Mount |
Roof Mount |
|
Model |
Dometic 8000 / Fiamma F45s/Awnlux w5510 |
Thule 6300 / Fiamma F80s/Awnlux w5810 |
|
Compatible Van |
Class C motorhomes with flat, vertical side walls. |
High-roof campervans with curved side walls (such as the Mercedes-Benz Sprinter). |
|
Exterior Appearance |
Classic exposed aesthetic,Effortless maintenance |
Concealed design, minimized aerodynamic drag. |
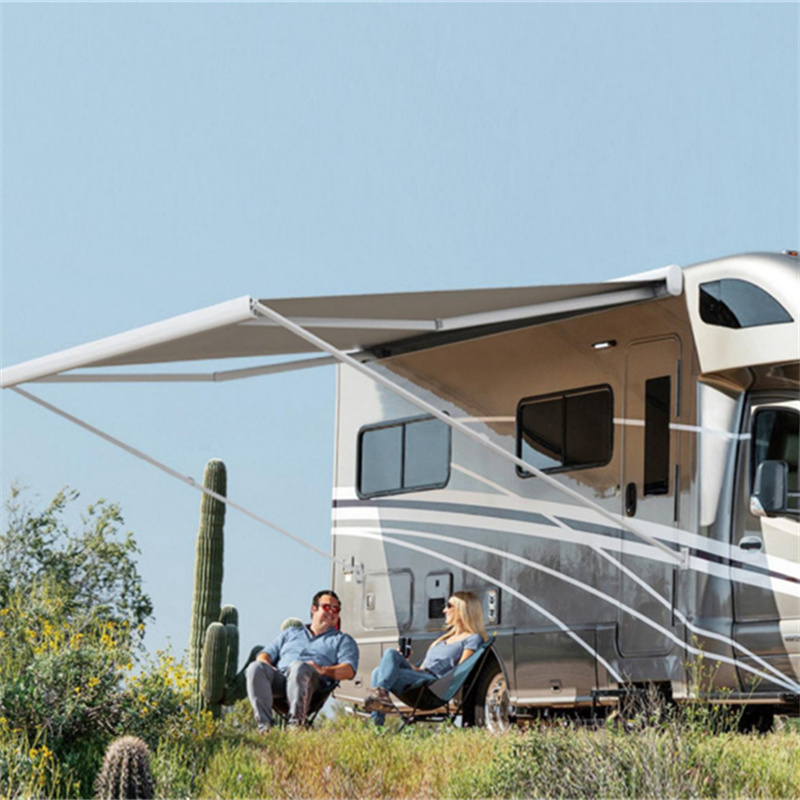
Awnlux introduces its premium Full Cassette Wall-Mount Awning Series: W5500 and W5510
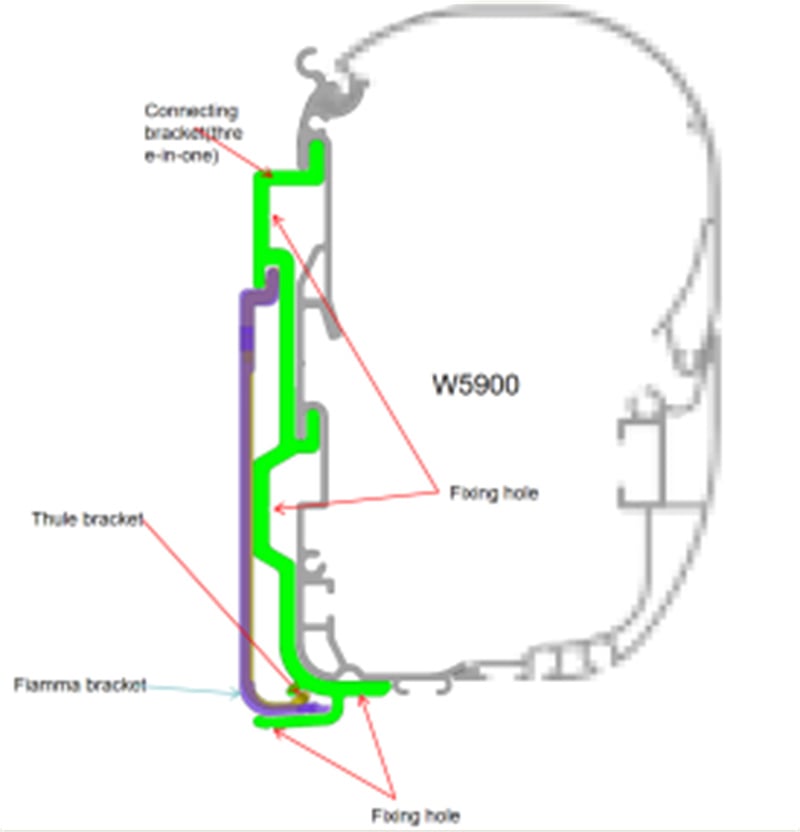
- Vertical Wall Mount: Best for flat side walls. It offers great strength and stability, commonly used by Thule, Fiamma, and Dometic. Along with standard brackets, Awnlux features a unique 3-in-1 universal adapter that fits Thule and Fiamma systems.
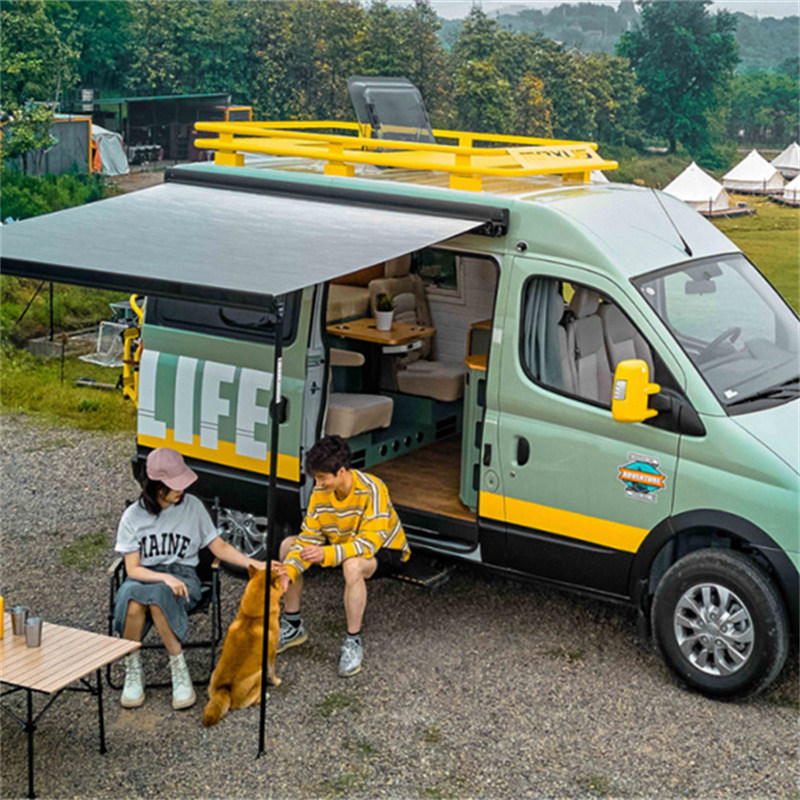
- l Roof Mount: Simple and easy to install. Perfectly compatible with Awnlux W5800 and W5810.
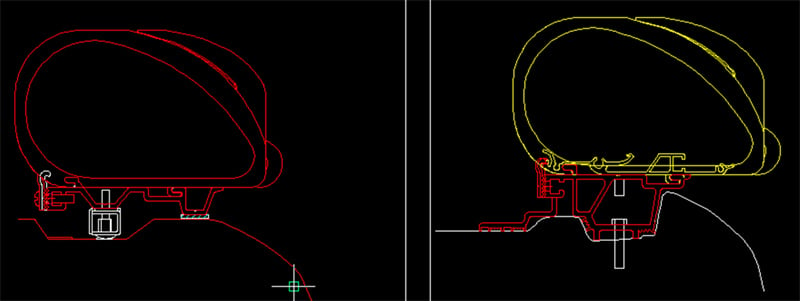
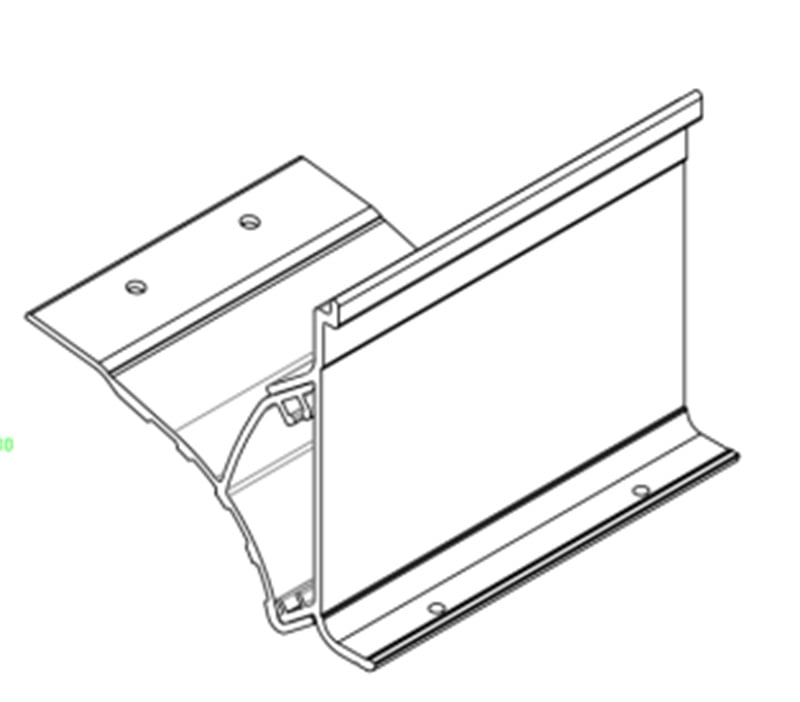
- Special Side Adapter: Best for high-roof or curved vans like VW Crafter and VW T5/T6. Allows adjustable clearance and angles. Awnlux offers dedicated adapters for these models.
4. Step-by-Step RV Awning DIY Installation
Awnlux provides detailed installation videos and user manuals. Please read the instruction manual thoroughly before beginning the installation.
Step 1: Measuring & Positioning
Clear obstructions: Check length to avoid doors, windows, AC, and clearance lights.
Draw baseline: Use a spirit level to mark a straight horizontal line.
Space brackets: Follow manual specs strictly (same logic for Thule, Fiamma, Awnlux W5510/W5500/W5900/W5810).
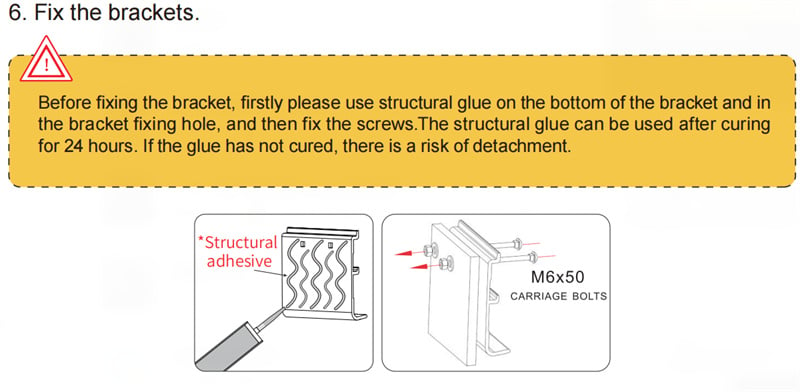
Step 2: Brackets & Pre-Waterproofing
Seal all holes: Every puncture through the vehicle body must be sealed.
Clean & prep: Wipe the surface clean before applying sealant.
Pre-seal holes: Inject sealant into screw holes before mounting.
Top-seam bead: Apply a continuous, gap-free line of UV-resistant sealant along the top edge.
Avoid damage: Prevents water leaks, wood rot, and ruined insulation.
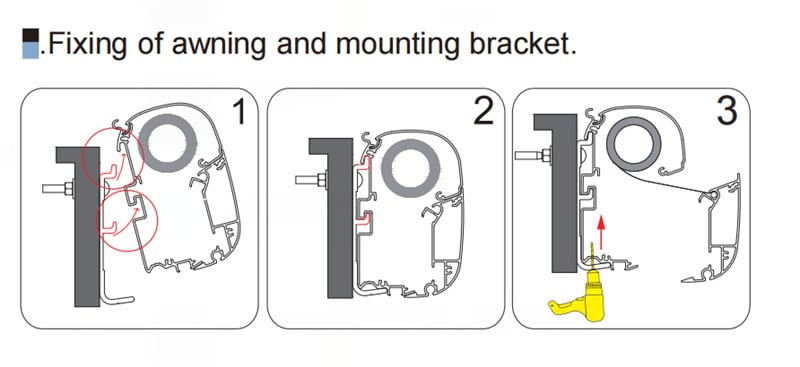
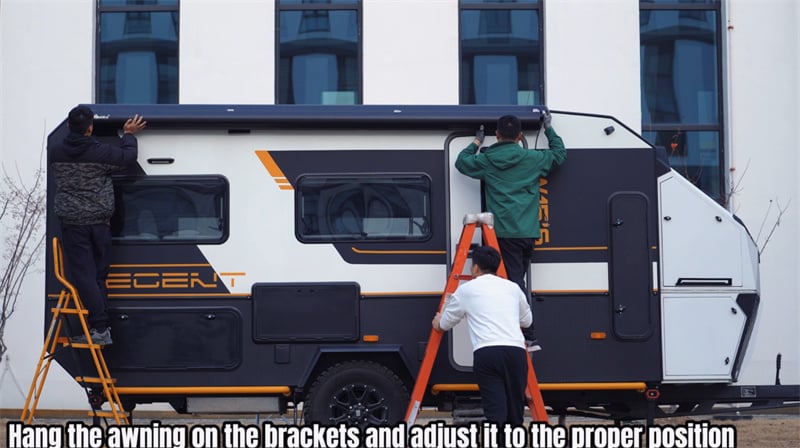
Step 3:Mounting the Awning
Lift the main awning body, hook it into the fixed brackets, and lock it tight. Awnlux uses a "hang-and-lock" mechanism, identical to other major premium brands.
5.Daily Maintenance
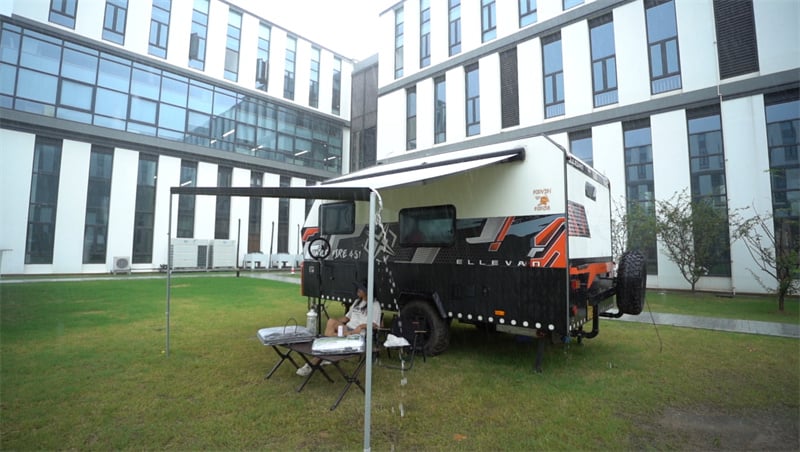
Inspect the awning monthly for loose arms, missing screws, torn fabric, or aging sealant. Check for water pooling or damp fabric after the rainy season, and ensure it is completely dry before retracting to prevent mold, odors, and fabric aging.
6.FAQ
Q1: How do I install an RV awning by myself?
The installation usually involves measuring and positioning, mounting brackets, securing the main body, adjusting angles, and waterproofing. Large full-cassette awnings are quite heavy, so it is highly recommended to have at least two people for the installation.
Q2: Can an RV awning withstand strong winds?
Awnings are not suitable for prolonged deployment in adverse weather. They should be retracted promptly during high winds and are not recommended for use during storms. Use auxiliary supports when necessary.
Q3: Why is waterproofing treatment so critical?
Because RVs are constantly exposed to rain, temperature variations, and road vibrations. If the sealing is insufficient, it easily causes hidden water leaks and damages the vehicle's structural integrity.
7. Summary of Professional Installation
Mastering an RV awning DIY project requires a perfect balance of structural integrity, safety, waterproofing, and user experience. A correct workflow always includes:selecting the right size, confirming the structural layout, using the proper tools, precisely installing the brackets, ensuring high-quality sealing, and performing regular maintenance.
Whether you are using Dometic, Thule, Fiamma, or AWNLUX, following standard installation methods is the only way to truly maximize the value of your awning.
About AWNLUX
AWNLUX specializes in the R&D and manufacturing of RV awning systems, providing electric awnings, manual awnings, and customized solutions for RV users, dealers, and modification enterprises worldwide. Featuring robust aluminum alloy structures, waterproof PVC fabrics, and powerful OEM customization capabilities, AWNLUX is dedicated to creating more comfortable, safe, and durable outdoor living spaces.
Ready to upgrade your RV lifestyle? Check out the latest Awnlux Premium Awning Series today and contact us ! :) You can always find a solution at AWNLUX.
Email address: [email protected]
Website: www.awnlux.com
Shop: www.awnluxpro.com
Tel:+86-21 57793893
Youtube: https://www.youtube.com/@awnluxrvawning1619