
 EN
EN
 FR
FR DE
DE JA
JA KO
KO RU
RU ES
ES AR
AR IT
IT
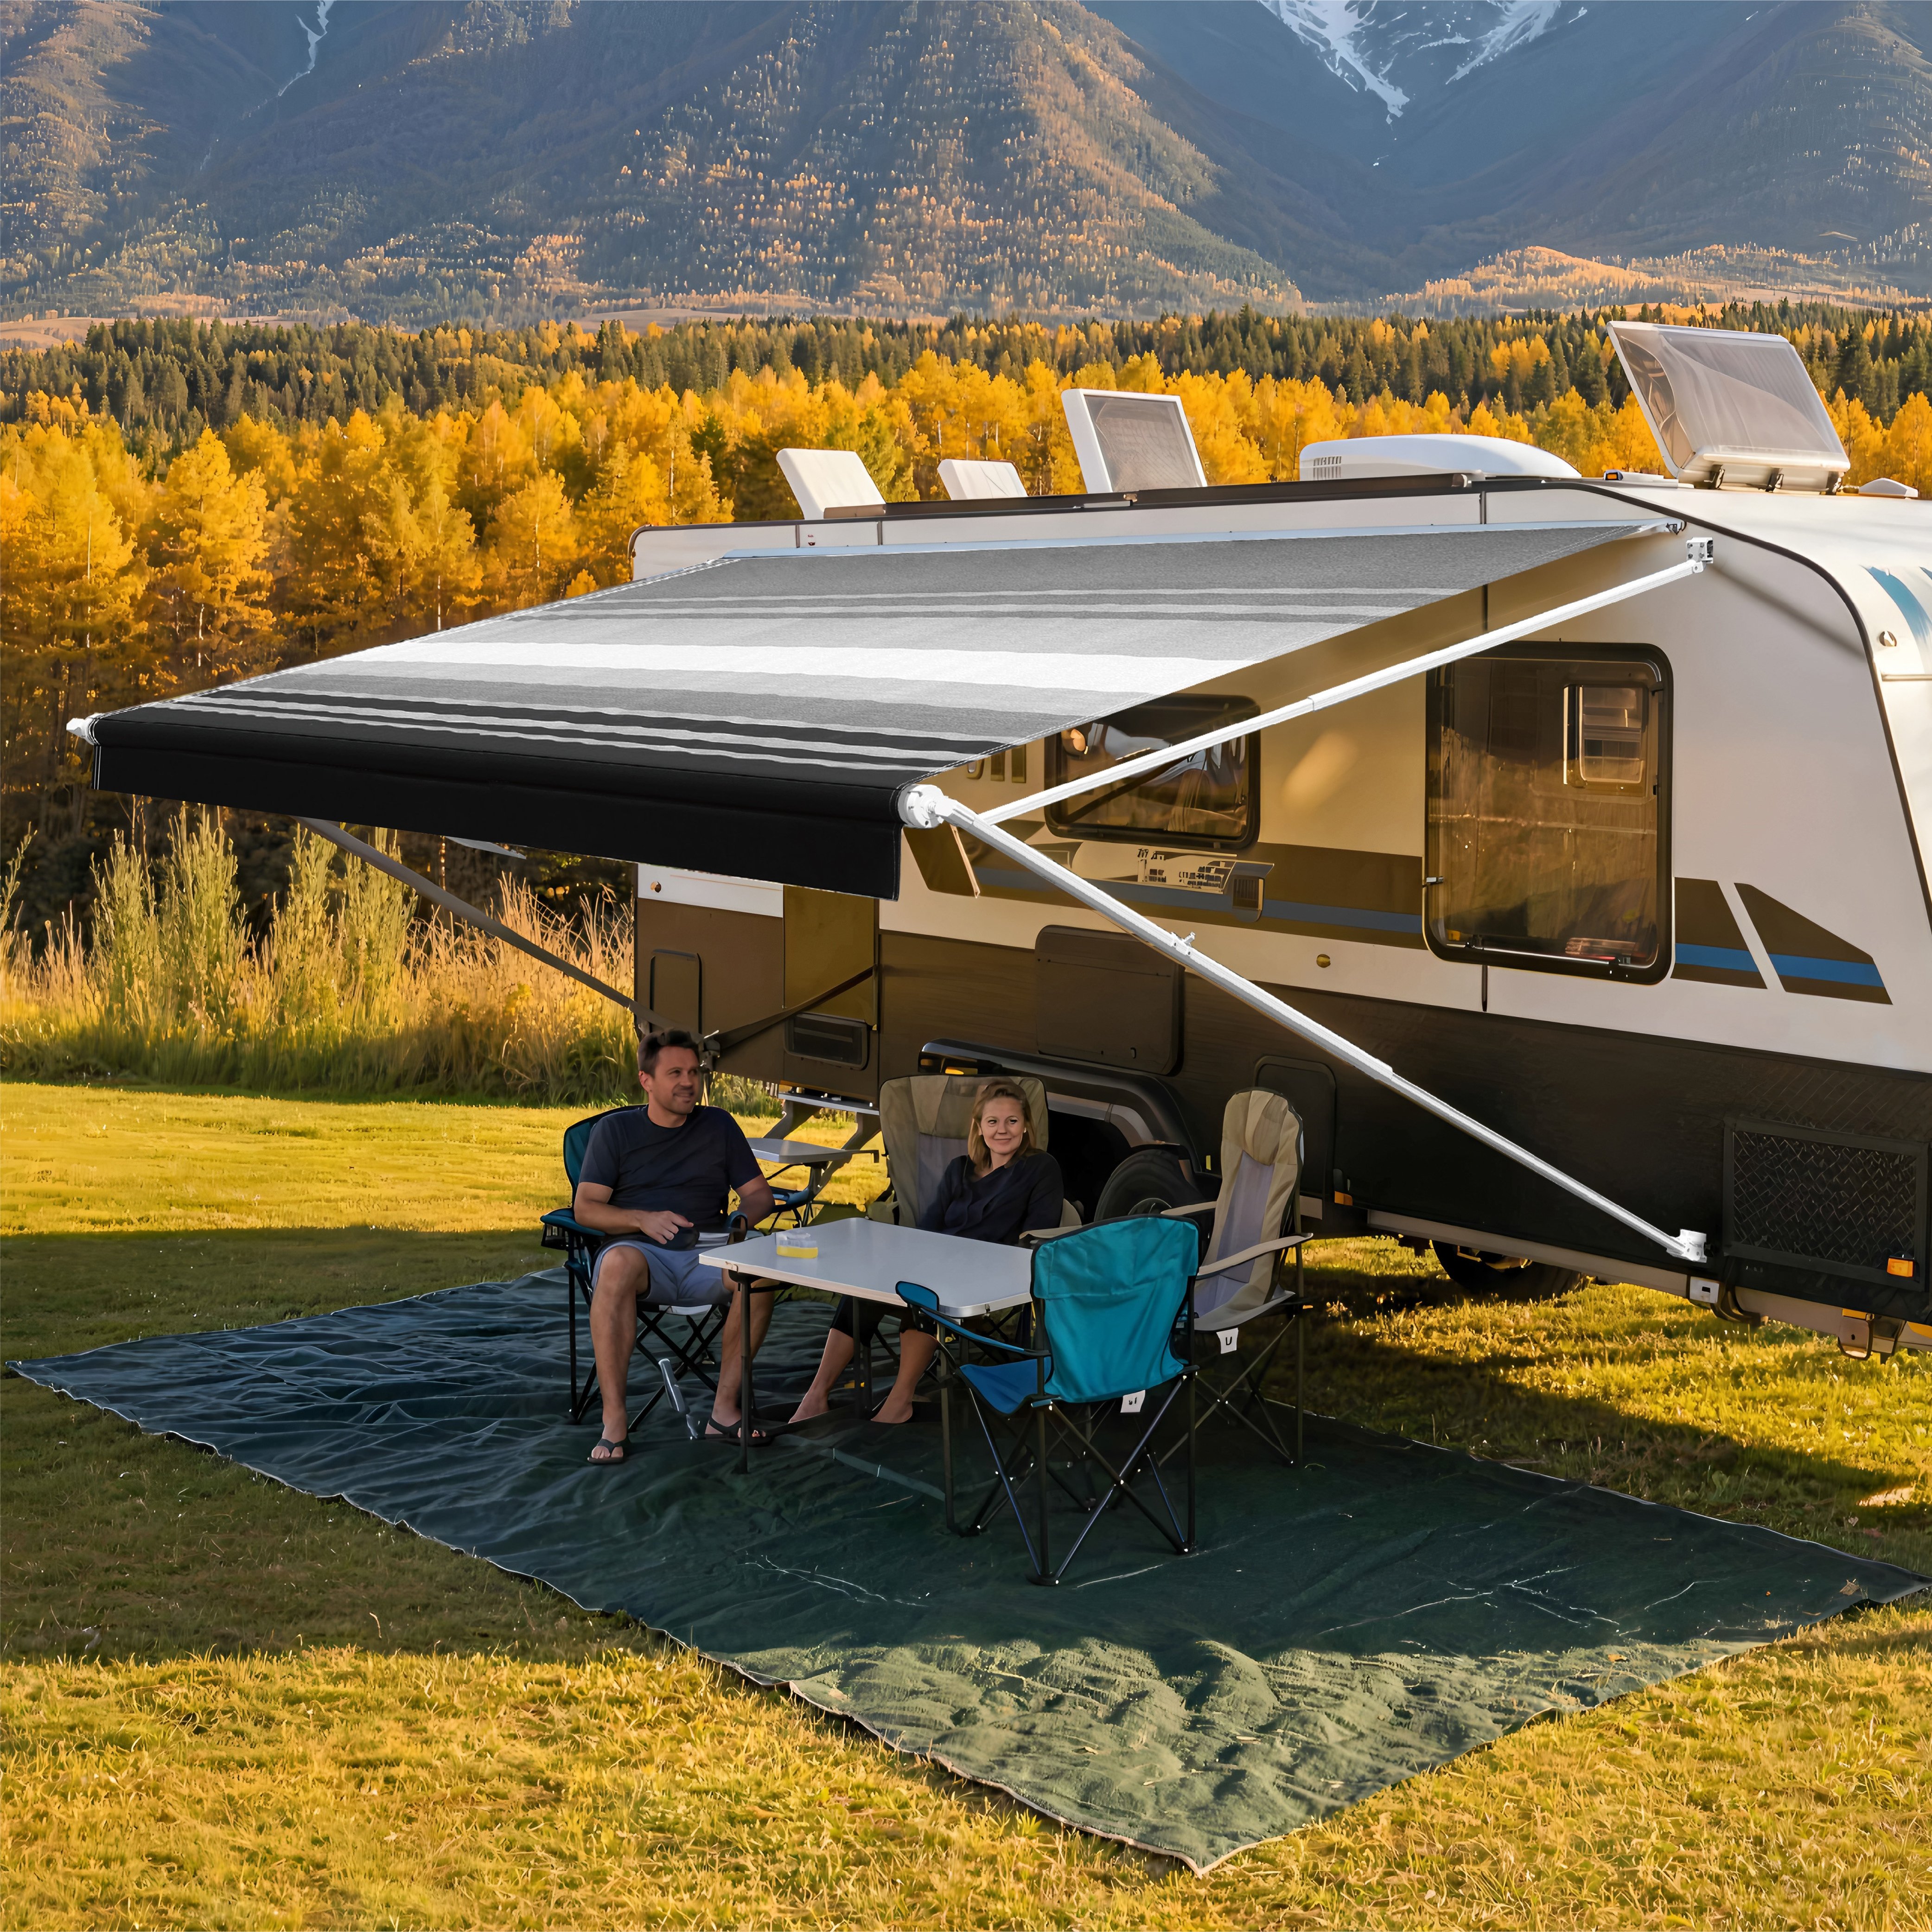
Replacing an RV awning sounds like a job for a dealer. It isn't. With the right tools and a clear process, most RV owners can complete a fabric replacement in 60–90 minutes and a full awning swap in under two hours. This guide walks you through the entire process — from measuring correctly to tensioning the springs — so you get it right the first time.
When Does an RV Awning Actually Need Replacing?
Not every problem requires a full replacement. Before you order parts, run through this quick diagnosis:
| Symptom | Solution |
|---|---|
| Small tear under 3 inches | Awning repair tape (temporary fix) |
| Persistent mold that won't clean off | Fabric replacement |
| Faded or UV-degraded fabric | Fabric replacement |
| Fabric tears over 12 inches | Fabric replacement |
| Arms bent or brackets broken | Full awning replacement |
| Motor failure (motorized awning) | Motor replacement only |
| Frame/roller structurally intact | Fabric replacement — reuse the frame |
The most common scenario is fabric-only replacement. If your arms and roller tube are still straight and rust-free, you can slide out the old fabric and install a new one without touching the brackets or arms. This saves significant time and cost.
What You Need Before You Start
Tools
- Power drill with Phillips and hex bit set
- Socket wrench set (M6 common)
- Tape measure
- Mark pencil or chalk
- Ladder (stable, rated for your height)
- Soft cloth and mild cleaner
- Structural adhesive (if replacing brackets)
- Work gloves and safety goggles
A Second Person
This is not optional. Awning rollers are long, awkward, and under spring tension. Having a second person hold the roller while you secure fasteners prevents accidents and saves a lot of frustration.
Step 1: Measure Before You Order Anything
Ordering the wrong size is the most common DIY mistake. Here is how to measure correctly:
Awning width: Measure from the center of the left arm to the center of the right arm. This is your awning width — not the fabric width, not the wall opening.
Projection (how far it extends): Measure from the wall attachment point to the end of the extended arm. Standard roll-out awnings project 2.0–3.5 m depending on model.
Arm height: Check whether your caravan or motorhome wall height requires arm extension or trimming. The W5600 arms, for example, have a minimum folded height of 1.75 m and can be trimmed down to 1.45 m by removing the top cap.
Write these measurements down before ordering. A 250 cm awning fabric will not fit a 300 cm rail.
Step 2: Remove the Old Awning
If You Are Replacing Fabric Only
1.Fully extend the awning so the fabric is accessible.
2.Remove the end caps on both sides of the roller tube.
3.Slide the old fabric out of the roller groove and fabric lock rail. Note the direction — you will need to feed the new fabric in the same way.
4.Leave the arms, roller tube, and brackets in place.
If You Are Doing a Full Replacement
1.Retract and secure the awning completely.
2.Unscrew the arm bottom brackets (A and B) from the caravan wall — typically M6×45 self-tapping screws.
3.Unscrew the upper C brackets (M6×60).
4.With your helper, support the roller and arms as you detach the final bracket (D). The assembly is heavier than it looks.
5.Lower the entire unit carefully and lay it on a padded surface.
Before removing springs: The torsion springs in a roll-out awning hold significant pre-tension. Do not try to disassemble the roller tube unless you have specific spring-winding instructions for your model. For standard fabric replacement, you do not need to touch the springs at all.
Step 3: Clean the Mounting Area
Once the old awning or fabric is down, clean the bracket positions and rail channel with mild cleaner and a soft cloth. Remove any rust, old adhesive residue, or debris. This ensures the new awning mounts flush and the fabric slides cleanly.
Step 4: Install the New Fabric
This is the most detail-sensitive step. Follow this sequence carefully:
1.Feed the poly cord into the fabric loop along the leading edge of the new fabric.
2.Slide the fabric into Groove No. 1 of the roller — the fabric slot closest to the roller surface.
3.Push the fabric into the roller grooves, ensuring it sits centred along the full width of the tube.
4.Feed the poly cord in from one end, working it through the groove so it runs the full length.
5.Feed the pull strap into the last groove (the outermost slot).
Once the fabric is seated:
6.Roll the fabric onto the tube in a clockwise direction (when viewed from the left side). Keep tension even and make sure the fabric stays centred on the roller — an off-centre roll will cause the fabric to track sideways when extended.
7.Place the roller tube on the top of the RV wall, aligned with the bracket positions.
Step 5: Install the Fabric Lock Rail
The fabric lock rail sits between the two upper brackets at the same height. Before fixing it to the wall:
- Apply structural adhesive to the bracket contact surface first.
- Fix with M6×60 self-tapping screws.
- Allow 24 hours for the structural adhesive to cure before putting the awning under load. Skipping this step risks bracket pull-out, especially on caravans with thin composite walls.
There is also a groove under the fabric lock rail for an LED strip, if you want to add lighting later. The groove is built into the rail — you just slide the strip in.
Step 6: Connect the Arms
1.Connect the left and right arms to the roller tube ends.
2.The W5600 comes pre-tensioned from the factory — do not remove the safety clips until the arms are fully connected to the roller.
3.Make sure the roller connects at the top of each arm to maintain correct fabric tension.
4.Check that both arms are vertical to the ground and parallel to each other. If one arm sits at a different angle, the fabric will pull to one side under extension.
Step 7: Fix the Fabric to the Sail Track
Once the arms are connected and the awning is hanging correctly:
Using a φ3.9×13 mm screw (No. 1 screw), fix the fabric to the sail track at a point approximately 10 cm from the fabric edge. Drive this screw through both the fabric and the poly cord together — this locks the cord in place.
At the end of the poly cord, drive a φ4.2×32 mm screw (No. 2 screw) to lock the cord endpoint. This is a safety measure: if the internal poly cord ever breaks, it will not pull free and leave the fabric unsupported.
Repeat on both sides.
Step 8: Fix the Final Bracket (D)
With the awning hanging in position, you can now see exactly where bracket D needs to land on the caravan wall. Mark the position, drill, apply structural adhesive, and fix with M6×45 screws.
This bracket is done last because its precise position depends on where the arm naturally rests — it is not a fixed measurement.
Step 9: Check Spring Tension
Before the first test extension, verify that the torsion spring tension is equal on both sides of the roller. Uneven tension causes the awning to roll off-centre over time.
If your awning fails to retract after installation (common if the springs lost tension during handling), here is the recovery formula from the W5600 service guide:
1.Measure the length L (cm) of fabric that will not retract.
2.Calculate the number of re-tension circles needed: n = 4 + L ÷ 28
3.Fully open the awning, add n clockwise circles of pre-tension to both torsion springs equally, then re-test retraction.
Step 10: Test the Awning
Remove the safety R-clips and extend the awning fully:
1.Release the inner and outer arm locks on each side.
2.Turn down the spring lock in the direction marked.
3.Grab the pull strap with the pull rod and pull the awning open to full extension.
4.Lock the wheel-locks on both sides.
5.Release the outer arms from their bottom brackets, set them to a slight forward tilt (so rainwater runs off the fabric rather than pooling), and fix with the steel pegs.
Retract fully once and check that the fabric rolls evenly, the arms lock securely, and nothing shifts or wobbles.
Fabric Replacement vs. Full Replacement: Which Do You Actually Need?
| Factor | Fabric Only | Full Replacement |
|---|---|---|
| Arms condition | Good | Bent, cracked, or heavily corroded |
| Roller tube | Straight and functional | Deformed or seized |
| Brackets | Secure | Pulled out or missing |
| Time required | 60–90 min | 2–3 hours |
| Cost | Lower | Higher |
| Skill level | Beginner–intermediate | Intermediate |
In most cases, fabric-only replacement is the right call. A quality awning frame lasts 16+ years — the fabric typically needs replacing first.
Maintenance Tips to Protect Your New Awning
A few habits will significantly extend the life of the new fabric and mechanism:
- Always retract in high wind: Roll-out awnings are not designed to withstand sustained gusts above their rated class. The W5600 is Class 5 rated — fine for normal conditions, but retract before a storm.
- Never roll up wet fabric: Trapped moisture leads to mold within days. Extend the awning after rain and let it air-dry completely before retracting.
- Monthly maintenance: Flush the arm channels with a hose to clear dust and debris. Spray the inside of the arm channels with dry silicone lubricant — not oil-based lubricant, which attracts dirt.
- Annual check: Inspect all fastener screws and tighten anything that has worked loose. Check the polycord condition at both ends.
- Fabric cleaning: Warm water and natural soap only. No detergent, bleach, or abrasive cleaners — these damage the waterproof coating.
Frequently Asked Questions
Can I replace just the fabric without removing the arms? Yes. If the arms, roller, and brackets are in good condition, you only need to remove the fabric from the roller groove and sail track. The arms stay connected throughout.
How long does RV awning replacement take? Fabric-only replacement: 60–90 minutes with two people. Full unit replacement: 2–3 hours including bracket positioning and adhesive prep time (plus 24 hours curing before use).
Do I need structural adhesive for every bracket? Yes, for any bracket mounting on a caravan with composite or thin-panel walls. Screws alone into lightweight wall panels can pull out under the lateral load of an extended awning. Adhesive distributes that load across the bracket surface.
My awning won't retract after installation. What's wrong? Most likely the torsion spring lost tension during handling. Use the formula n = 4 + L ÷ 28 to calculate how many re-tension circles to add, then wind both springs equally and test again.
How do I know if my awning size is compatible with a replacement fabric? Measure arm-center to arm-center for width, and the roller tube diameter if you plan to reuse it. Awnlux replacement fabrics are available in custom sizes — contact us with your measurements for a direct match.
Awnlux manufactures roll-out and cassette RV awnings for OEM and wholesale buyers worldwide. All awnings meet CE certification. Custom sizes, colors, and branded packaging available. Contact us for replacement fabric pricing or OEM enquiries.