 EN
EN
 FR
FR DE
DE JA
JA KO
KO RU
RU ES
ES AR
AR IT
IT
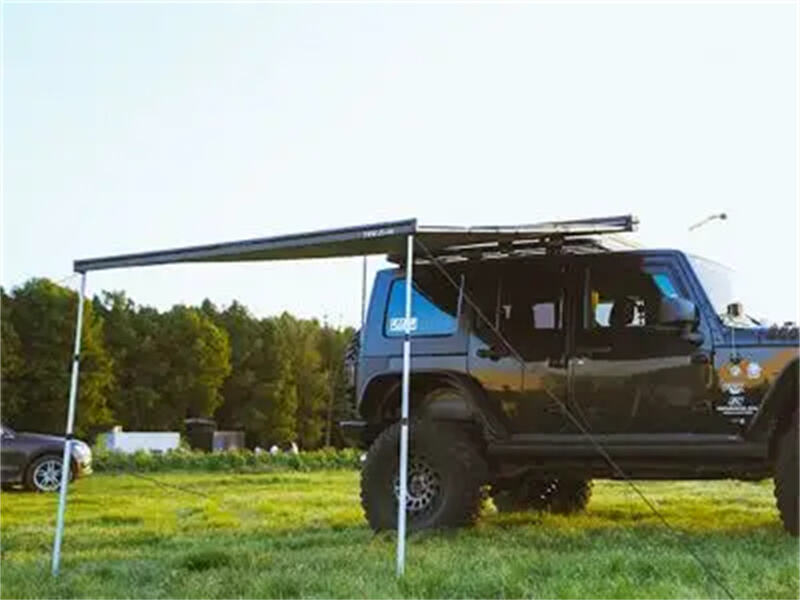
Replacing an RV awning is an easy job, until a few basic steps later, used with a little patience, plus with some ready hands willing to lend, an RV owner can eventually manage it themselves.
If your old awning fabric is worn, faded you may show you how to replace a worn or faded roll-up awning with a brand new fabric. It also offers more shade and protection while camping.
So here in this guide, we’ll show the process of how to replace an RV awning yourself by using tools you may already have and making sure it’s a safe and easy process from beginning to end.
1. Preparation
Before you start removing and replacing your RV awning, you need to spend part of a day in preparation. You’ll now be unable to get stressed out over such things in future, which will make everything easier. First off be, sure you get the right awning that matches your RV manufacturer. Double-check the size and measure the distance between the arms, not the fabric. Also, check to see if your awning is powered or manual, as the process is a little different for each.
Next, gather the tools you’ll need. You’ll need a cordless drill, a socket set, screwdriver, ladder, and a friend. Gloves and goggles are a good idea as well. For the spring-loaded roller tube of your awning, be cautious —it’s under tension, and it may snap back if you’re unprepared. Some will lock the spring with a couple of locking pins or zip ties before removing the awning.
Level out your RV on a flat surface and ensure you have enough open space directly to both sides of the vehicle for the arms to fully extend. Apply the parking brake and shut off electricity if you’re working on an electric model. And keep your tools in easy reach or you’ll be up and down that ladder every three minutes.
This would also be an opportunity to take a couple of photographs of the existing awning. You will thank yourself later in the process when you need to put everything back together. If you’re taking off a power awning, mark or label the wires before you disconnect them. These small steps avoid installation errors.
Once you have everything measured, unplugged, and laid out, now you can begin the process of actually removing Remove the old cabinet. The rest of the task is much less maddening if you take your time with the prep work.
2. Removing the Old Awning
Removing the old awning may seem scary to start, but if you just go step by step, it’s very doable even for a novice. The point here is safety and collaboration. Don’t attempt to wrestle it down on your own awnings are unwieldy and awkward, and a second set of hands is a tremendous help.
Start by opening the awning all the way. This provides you with direct access to the hardware and is easier to hold. If your awning is electric, unplug the power source and label the wires if possible, so you can remember how it’s hooked up when you install the new one. For manual models, lower the arms to prevent them from accidentally moving.
Then, unscrew the screws or bolts that secure the awning arms to the RV. These are often near the upper brackets. Have a nearby container to put screws in so that none are lost. When the arms are unencumbered, it’s time to tackle the roller tube. (On some versions of the device, you may have to release or remove the material from the groove in the tube.) Note: if the tube is sprung loaded, be careful as it may unravel rapidly once released. Others secure it in place with a locking pin or a zip tie, then remove it.
Now with the arms unused and the tube unsecured, you and your assistant can gently slide the awning from its groove in the rail at the side of the RV. Go slow and steady. If it doesn’t budge, try gently wiggling it side to side but do not yank on or bend the track.
Unfold the old awning on a flat surface not in or around your work area. This makes the new install room, and also helps keep things neat.
If the old awning is off, you’ve already done the most challenging work. Subsequent steps like preparing and installing the new one — are more direct.
3. Installing the New Awning
Installing the new awning is very much the opposite of the removal, yet cleaner, which is a plus, and the excitement factor is ticking up a little because you are so much closer to being done! Unwrap your new awning and lay it out to ensure everything is there arms, fabric, roller tube, and any screws and mount brackets in the package first up. Compare the the new to the old to verfiy parts and sizes match up.
Insert the new material into the awning rail on the side of the RV. This can be sort of difficult, especially if its a tight track. A little bit of soapy water or silicone spray can help make the fabric go in easier. One person can feed the fabric, holding its edge at table height, and the other can walk along the fabric and keep the edges from bunching up. Go slowly Rushing here can result in rips or a crooked placement.
With the fabric in place, fix roller tube to the arms. Spring Tensioned Models: Following the manufacturer’s instructions, safely preload the spring before you cap the tube in place. This typically mistakes winding the tube a certain amount of turns to have the proper tension to retract. Be careful and wear gloves it may snap back if let out too soon.
Then re-anchor the awning arms to your RV. They will align with those holes, if you can or have time, and drill new ones. Make sure wherever it lays it is level and even before you go and tighten the bolts.
If you are working with an electric model, reattach the wiring as per your previous labels. If everything is fastened and you’re comfortable, power it on and test it out. On manual models, make sure it rolls out and back in easily and that the lock mechanism works.
You’re almost done! With the new awning up, there’s nothing to do now but checks and small adjustments.
4. Adjustment and Maintenance
Putting the new awning into place is similar to the removal process in reverse but cleaner, and with a few more butterflies since you’re starting to see the finish line in sight! First things first, unpack your new awning and spread it out to be certain everything’s there — arms, fabric, roller assembly and any screws or brackets that came with it. Check it against the old to see that sizes and amounts are OK.
Insert the new fabric into the awning rail on the side of the RV. This can be a bit tricky, especially if the track is narrow. Some soapy water or silicone spray can help the fabric slide in more easily. One person feeds the fabric; the other person guides it and keeps it from bunching up. Take your time. Running here may lead to tears or wonky placement. Tie a knot like shown in the second picture above. Join the roller tube to the arms after you adjust the fabric as desired.
Once the material is on there, you are going to slide the roller tube up onto the arms. If your model has spring tension, please follow the steps to properly pre-load the spring before attaching the tube. This typically means that you need to rotate the tube to retract a set amount of turns in order to set the tension of the retraction. Be careful, the strap can spring back on you if you release it too soon.
Re-install the awning arms back onto the RV. Align them with the original holes, if you can, or drill new ones, if necessary. (make sure everything is level and even before tightening the bolts.
If it’s electric, you’ll do everything in reverse and reconnect the wires as you had labeled them. Turn on the power and test it out once you’ve got everything secured. For the manual kind, make sure it rolls in and out easily, and that the locking mechanism functions.