 EN
EN
 AR
AR HR
HR CS
CS NL
NL FI
FI FR
FR DE
DE EL
EL HI
HI IT
IT JA
JA KO
KO NO
NO PL
PL PT
PT RO
RO RU
RU ES
ES SV
SV TL
TL ID
ID SR
SR SL
SL UK
UK VI
VI SQ
SQ HU
HU MT
MT TH
TH TR
TR MS
MS AZ
AZ KA
KA LO
LO MN
MN MY
MY KK
KK KY
KY
1. Introduction
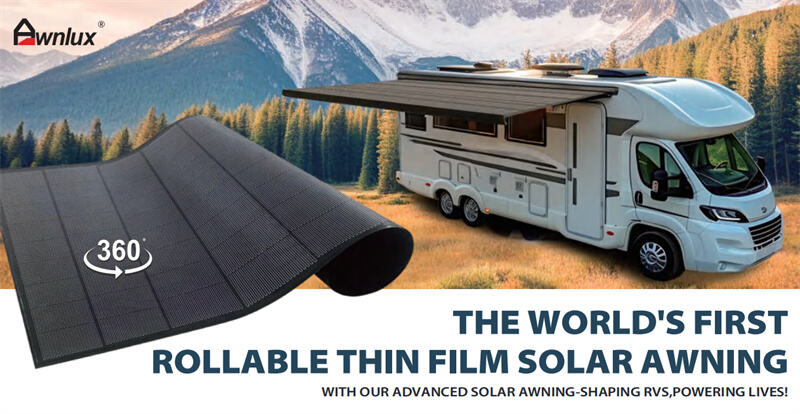
Awnlux solar awnings – the smart energy solution for outdoor living
In RV travel, camping or outdoor life, Flexible solar awnings that can provide shade and generate electricity are becoming an ideal choice for environmental enthusiasts and off-grid life experts. It not only provides a comfortable shaded space, but also can power RV or camping equipment through photovoltaic panels , reducing dependence on traditional energy and achieving a balance between energy saving and self-sufficiency.
In this context, Awnlux has developed a CIGS flexible solar RV awning with aluminum shell. This article will show you how to install this solar awning!
2. Preparation before installation
Before officially installing the AWNLUX solar awning, adequate preparation can greatly improve installation efficiency and ensure safety. Please follow the steps below to check tools, accessories, and make an assessment of the installation environment.
2. 1. Tool Preparation
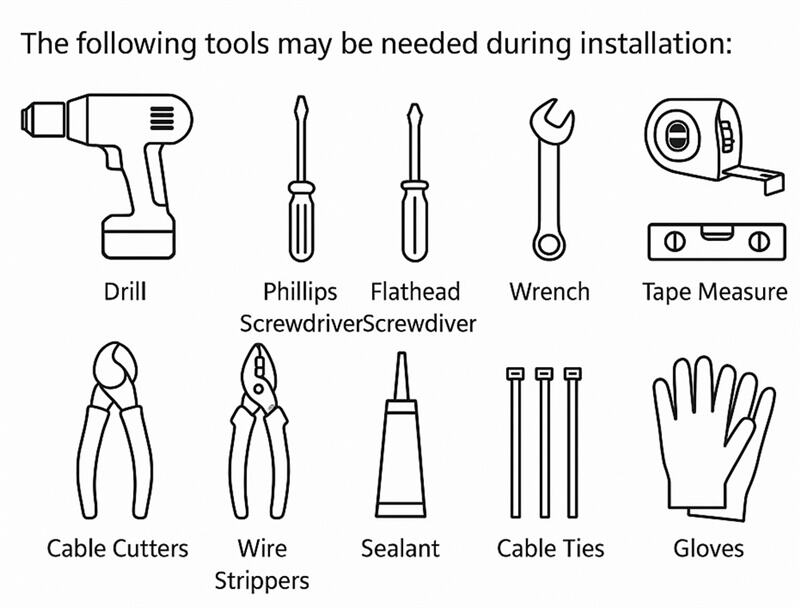
The following tools may be required during installation:
Electric drill, screwdriver (cross/slotted), level, wrench, tape measure, cable cutter, wire stripper, sealant, cable tie, gloves, etc. It is recommended that more than two people collaborate to install, especially when hoisting larger solar awnings, to improve safety and accuracy.
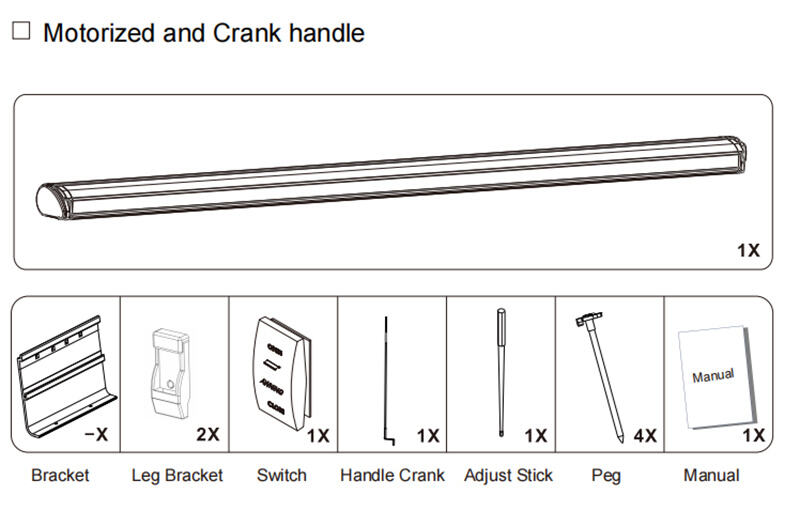
2. 2. Accessories inspection
Check whether the included accessories are complete by referring to the Awnlux product list:
Awning body, bracket, solar connection line, etc.
In addition, controllers, batteries, inverters, wind control sensors, etc. can be selected.
2. 3. Installation Environment Assessment
Make sure the installation surface is flat and solid (such as the roof or wall of an RV ), plan the wiring path in advance, and choose rainless and low-wind weather for installation.
2. 4. Safety Tips
During installation, be sure to turn off the power, secure tools to prevent them from falling, and ensure that all electrical connections are correct to avoid the risk of short circuits.
After completing these preparations, you can proceed to the specific installation steps. In the next section, we will introduce the installation process of this solar awning in detail to help you complete the setup step by step!
3. Installation steps of Full cassette solar RV awning
3. 1 Features
Completely enclosed structure, beautiful, lightweight, and strong wind resistance
Solar panels are integrated into the housing, with hidden wiring design
Suitable for long-term installation and adaptable to various RV types
3. 2 Installation steps
① Unpack and check the solar awning package: Arrange all the components and compare them with the packing list in the manual. Make sure all product components are complete before installation.
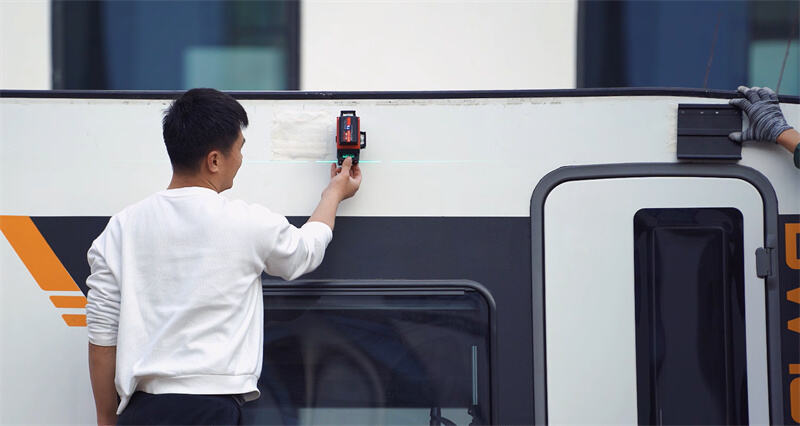
②Confirm and mark the installation position: Please calculate the installation position according to the instructions, use your measurements to mark the exact position of the bracket. Use a level to make sure the line is straight. This will help your solar awning work properly.
③Install and fix the bracket: Lock the bracket with screws, and make embedded gaskets in the car to enhance the strength. Note that the screws should not be tightened too much to facilitate adjustment. Tighten all the screws after the debugging is completed, and apply sealant around each hole to prevent water leakage.

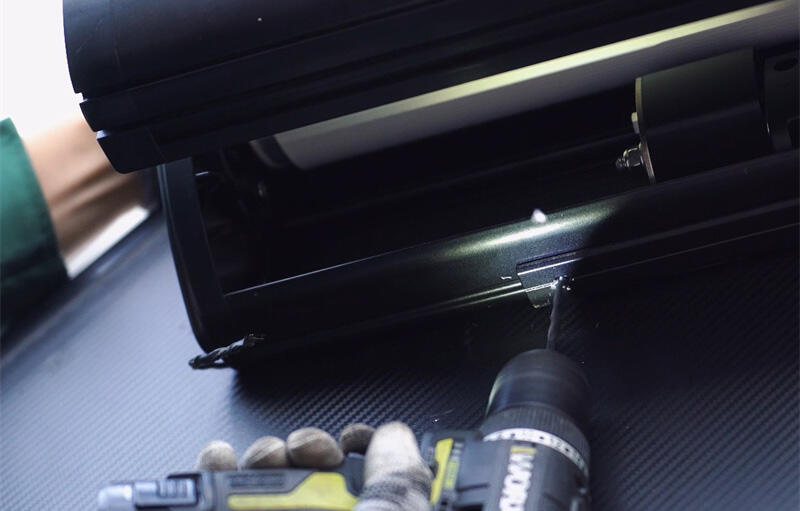
④Install and fix the flexible solar RV awning body: hang the awning on the bracket and adjust it to the appropriate position, check whether the bracket drags the arm base in the middle (this not only makes it easier to fix the screws but also increases the service life of the awning), and use bolts to lock the awning and the bracket in turn.
⑤Connect the solar cable to the controller and battery system (for more details, refer to the electrical connection instructions in Part 4 of the article)
⑥Test the awning motor power connection: Prepare a temporary power supply or RV battery and make sure the voltage is at least 12 volts. Connect the black wire on the switch to the (-) of the power supply, and then connect the red wire on the switch to the (+) of the power supply.
Connect the blue wire from the switch to the brown wire on the shade motor.
Connect the white wire on the switch to the blue wire on the shade motor.
Use a 12V power supply to connect the motor and switch to test whether the opening and closing are normal. After normal opening and closing, connect the wire to the car
3. 3 Installation Recommendations
Make sure the mounting wall or track is strong enough
Pay attention to whether the awning is level and avoid tilting
It is recommended to use sealant to waterproof all cable entry holes
For installation details, you may check our Youtube link:
4. Electrical Connection Overview
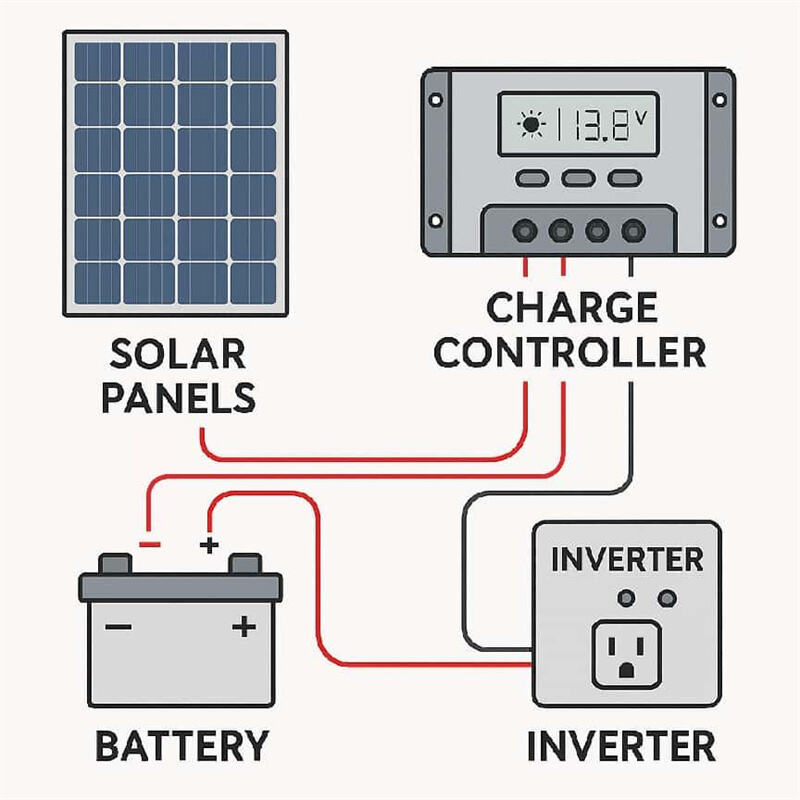
Solar awnings not only provide shade, but also generate electricity through integrated photovoltaic panels. Reasonable wiring is required to ensure safety and efficiency:
1. Solar panels connected to the controller
The solar panels on the top of the awning are connected to the MPPT or PWM solar charge controller via a dedicated DC cable. The controller converts the unstable voltage generated by the panel into a stable current suitable for battery charging and prevents the battery from overcharging or over-discharging.
Operation points:
The panel output power needs to match the controller input voltage and current range;
Use MC4 connectors to ensure a secure, fast, and water-resistant connection;
2. Connect the controller to the battery and inverter
The output of the controller is connected to a 12V or 24V battery system. If the user needs 220V power (such as induction cookers, electric fans, coffee machines, etc. ), an inverter (DC to AC) can be additionally connected to convert DC power into AC power.
Recommended configuration:
It is recommended to use deep cycle lithium battery or AGM battery
The inverter power needs to be selected according to the total load, such as 1000W, 2000W, etc.
3. Install fuses and select wiring specifications
To ensure electrical safety, fuses or circuit breakers with appropriate current should be installed in the following locations:
Between panel and controller
Between controller and battery
Between battery and inverter
Wire diameter recommendation:
The longer the distance, the greater the current, and the thicker the wire diameter needs to be (e. g. 10AWG, 8AWG, etc. )
The wires used must pass flame retardant and weather resistance tests
4. Protection requirements
All cables and connectors should have the following characteristics:
Waterproof (IP65 or higher waterproof connector is recommended)
Dustproof (cable conduit or wire duct can be used)
Anti-vibration (fixed to the vehicle structure with buckles to prevent loosening)
5. Maintenance Tips
Although high-quality solar awnings have a stable structure, daily maintenance cannot be ignored to ensure power generation efficiency and product life:
1. Clean solar panels regularly
Dust, fallen leaves or bird droppings on the panel surface will greatly reduce the power generation efficiency
It is recommended to wipe it gently with a wet towel every 1 to 2 weeks (avoid using corrosive cleaners)
After rain or outdoor camping, you should especially check whether there is any accumulation of obstructions.
2. Check the bracket and screws
The awning may become loose due to vibration during driving.
Check the mounting point screws once a month and reinforce if necessary.
The arms and hinges can be lubricated regularly to prevent rust
3. Keep the tent dry before folding
If the awning is used in rainy days, the awning should be wiped dry as much as possible before folding.
Long-term moisture can cause mold, odor, and even affect electrical components
4. Controller abnormal prompt processing
The controller often displays the status through the screen or LED light (such as over temperature, low power, panel circuit break, etc. )
If the red light flashes or there is no charging current, check:
Is the panel clean and connected properly?
Is the battery full or aging?
Is the controller overheated or in poor contact?
6. Summary: Full cassette Flexible solar RV awning, both stable and beautiful
The full cassette solar awning, with its integrated closed design, can not only provide a stable shading experience, but also integrate high-efficiency solar panels to achieve the dual functions of outdoor power supply and energy saving and environmental protection. Its structure is more solid and suitable for RV users who have high requirements for appearance and long-term use.
Awnlux offers a complete range of solar awning solutions in a variety of sizes and electrical configurations to suit a variety of RV and caravan structures.
It is recommended that users read the product manual in detail before installation and strictly follow the wiring, safety grounding and waterproof construction requirements. If necessary, professional technicians can assist in completing the installation to ensure safe, reliable and long-term worry-free use.